You now have an actually working blog on localhost, and you want to publish it to the internet.
Choosing a hosting option for the static site
So you start looking for ways to host these pages. Options like these come up:
- Amazon S3
- Netlify
- Cloudflare Pages
- Azure Static Web Apps
- Host it on a regular VPS and set up a web server
I finally landed on Cloudflare Pages with the following upsides:
- Unlimited bandwidth, static requests and sites
- Take advantage of integrated Cloudflare CDN and anti-DDoS service
- Kind of “Always Free”
- Less hassle to deal with server configuration (although I am fine with that)
httpsis included and configured. No Let’s Encrypt certbot needed
It is still worth checking the limits
for Cloudflare Pages to make sure you are happy with it.
Of course, you need to have a domain name using Cloudflare DNS to continue.
Generate the blog site
After deciding the platform, check your hugo.toml and make sure the baseURL is set to your hosting domain.
baseURL = 'https://test-blog.huzky.dev/'
and run
➜ hugo
in the your-lovely-blog-name folder to build the website.
The built website will be on the public folder.
Deploy your site to Cloudflare Pages
After you build the website, you need to do a one-time configuration on Cloudflare Pages.
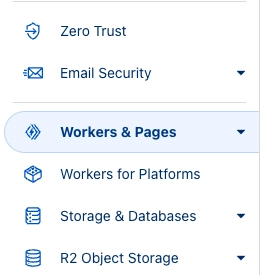
- Log in to your Cloudflare Dashboard and find Workers & Pages on the left menu.
- Click Create and click the Pages tab
- On the Create using direct upload section, click Upload assets
- Input your Project Name (
test-bloggerin this example) and click Create Project - In the Upload your project assets section, drag and drop the
publicfolder you just built
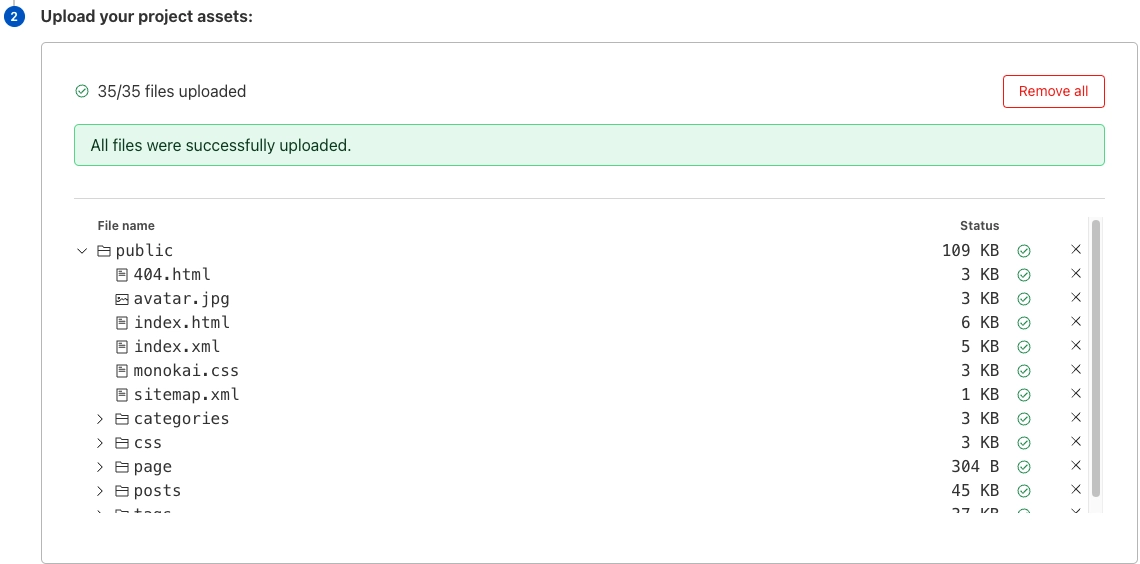
- Click Deploy site
After going back to Workers & Pages, you will find a new project called test-blogger.
You can click Visit to see what it is going to look like on the internet.
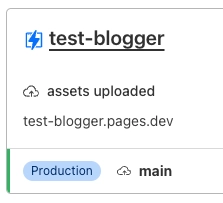
To attach a domain name to this site, click test-blogger, go to Custom domains, and click Set up a custom domain.
Set the domain name to the baseURL in hugo.toml, then click Activate domain.
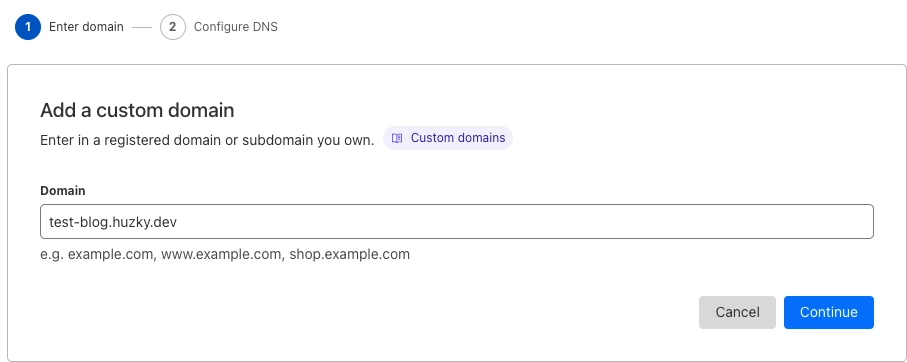
After DNS has had some time to propagate, you can access the blog via the domain, https://test-blog.huzky.dev in this example.
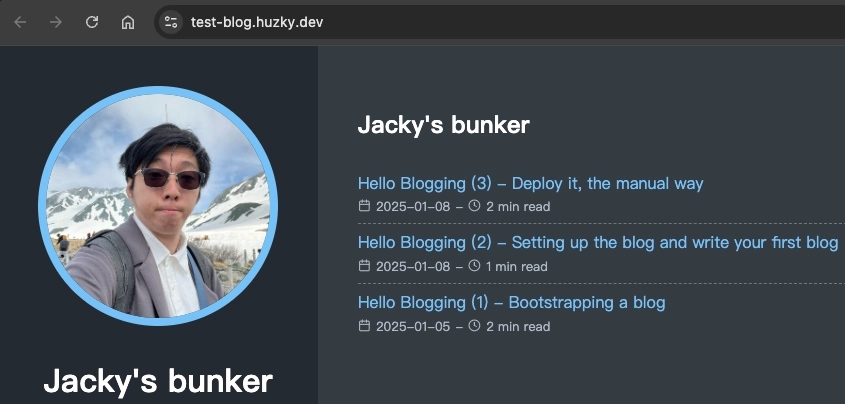
To update your blog, you can just
- Build the site locally
- Go to Deployment section and click Create Deployment
- Drag and drop your
publicfolder just built to the box
And you are done updating the site in minutes.
You may think this eats up too much time when you repeat the deployment again and again.
Yes, I felt the same. It gets tedious.
So the next post is about automating that boring part.