You now have a blog actually working on the internet, but you are probably getting frustrated with deploying the site manually
EVERY SINGLE TIME
You want these boring steps automated, then more time for ☕.
You may remember that when creating a Cloudflare Pages project, you can point it at a git repo instead of uploading the site.
But I self-host my own git (
Gitea
) because I like my code in my homelab.
So the GitHub / GitLab option offered by Cloudflare is a no go for me.
I need to write my CI/CD stuff for the first time and it should be a nice Hello CI/CD for me.
Gitea Actions are compatible with GitHub Actions, so there is not much difference from using GitHub Actions
.
The GitHub Action Marketplace
also works nicely with Gitea, which is very handy.
Instant helper to test GitHub Action Locally
Before I start writing the action, I have one issue to solve.
I don’t want to push multiple times just to test my Gitea Actions.
And… nektos/act
comes to the rescue.act can be used to test Gitea Actions locally, without having to push every tiny change just to test the workflow.
To install this tool, just use Homebrew:
➜ brew install act
After setting up the tool, I could finally start writing the action.
I created a YAML file under .github/workflows:
--- your-blog-content
 |_ .github
    |_ workflows
       |_ build.yaml
And here is my action to deploy it.
Basically, it is not much different from setting up the blog on a clean machine.
The huzky-blog in the last section should be your project name on Cloudflare Pages,test-blogger in the last example.
Prerequisite of automatic deployment, API token
Now you may have noticed that there is a CLOUDFLARE_API_TOKEN in the step for the cloudflare/wrangler action to work.
To get an API token, go to Workers & Pages in the Cloudflare Dashboard and select “Manage API tokens” on the right.
Click “Create Token” > Select “Edit Cloudflare Worker” API token template and fill in the form like this
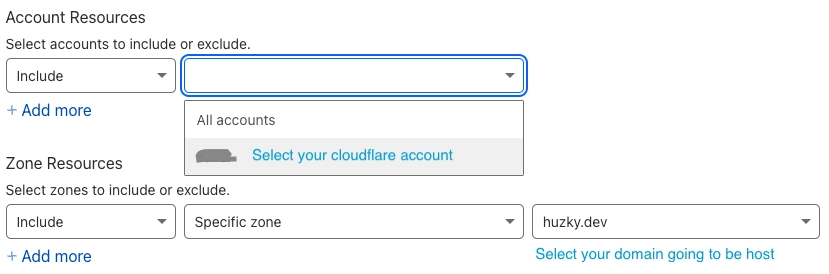
After checking your permission and clicking “Create Token”, Cloudflare will give you the API token.
WARNING: Please keep the API key in a safe place, because the token cannot be viewed again.
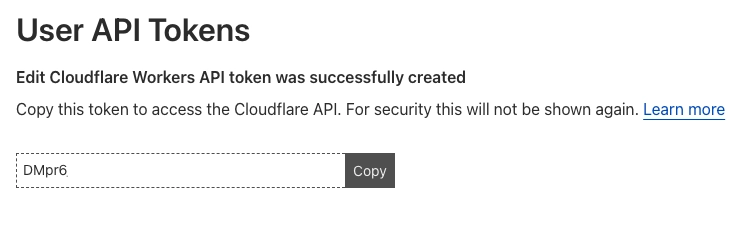
Now you have the token to deploy the site programmatically.
Go to the your-blog-content folder and run:
➜ act --container-architecture linux/amd64 -s CLOUDFLARE_API_TOKEN="your cloudflare token"
--container-architecture is set to linux/amd64 because my Gitea runner is x64.-s passes secrets.CLOUDFLARE_API_TOKEN.
After running the command, the action runs locally and you can see that the website gets deployed at the end. Kind of automatically.
Now, to fully enable the CI/CD, you just need to add the CLOUDFLARE_API_TOKEN secret to the Gitea secrets section.
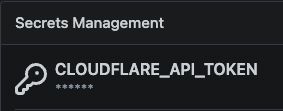
After adding the secret, push the changes to git and you can see the action running.
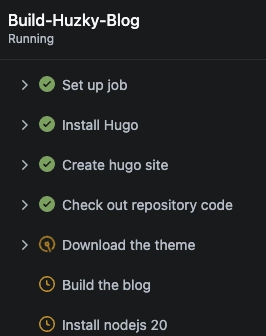
And voila, automatic blog deployment is sorted whenever you push changes to the repo.