You may wonder where I host those images. I host them at:
https://blob.blog.huzky.dev
Ehh? Not blog.huzky.dev?
Why not deploy images with the Cloudflare Pages?
- I don’t want to commit my images to git. They should be decoupled.
- Cloudflare Pages has a hard limit on how many files can be uploaded (20,000)
- There is a better service to get the job done
Introducing Cloudflare R2 . A S3-compatible object storage service offered by Cloudflare.
S -> R, 3 -> 2, S3 -> R2, nice naming, Cloudflare.
Why choose Cloudflare R2?
- No egress fee (S3? nah.)
- Always free 10GB (R2) vs 12 months free 5GB (S3)
- Same deal as Pages: integrated Cloudflare CDN = win
Same as Cloudflare Pages, please check their pricing and limits so you know you’re okay with the free tier limits.
And I will use my Cloudflare-hosted domain as the example.
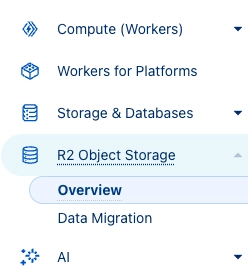
Log in to your Cloudflare Dashboard and select “R2 Object Storage” on the left.
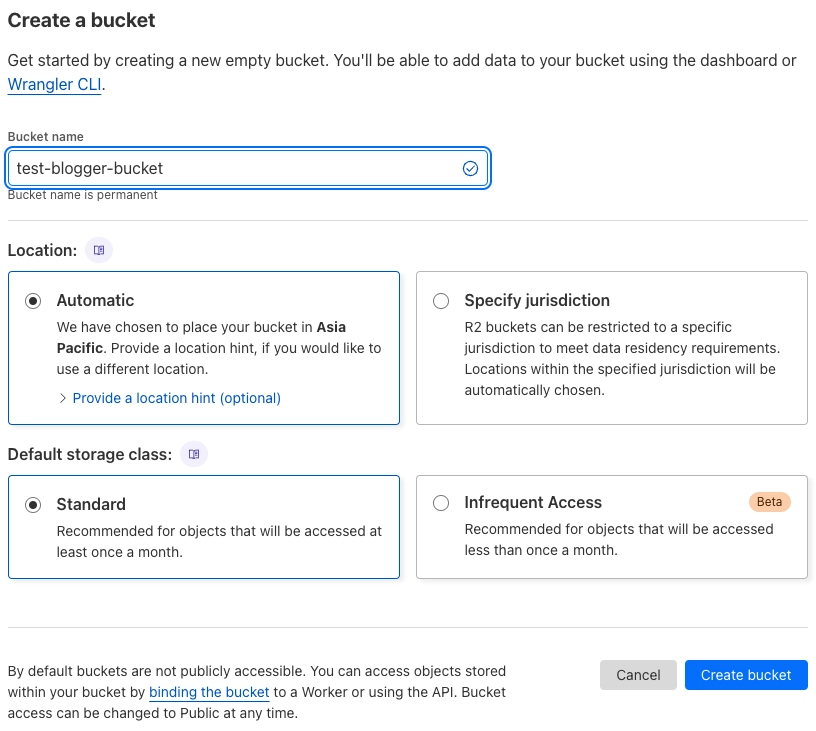
Click the “Create Bucket” button, specify your “Bucket name”, and leave everything else as-is.
After creating the bucket, click “Settings” at the top and find the “Public access” section
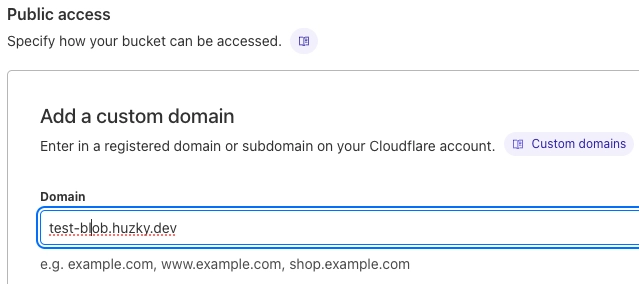
You can add your desired domain name here.
After adding the domain, you can start uploading your images (or assets) by going back to your bucket page.

You can drag and drop your image into the box and upload it.
If the filename is foo.jpg, then you can access your file from
https://test-blob.huzky.dev/foo.jpg
You can insert the image link into your markdown after that.
That’s it.
That’s it for my hello-blog series. It was a fun little project.
Hope you have a good one.