Off topic
Yay! First post written across two countries.
Osaka + Kobe = perfect short break destination.
The Glitch Coffee offers great coffee at a reasonable price.

Back to the post
Recently I wanted to ditch Portainer for a couple of reasons:
- Why not? It is always fun to tinker.
- A 5-instance limit for Portainer CE, which is not enough for a bunch of VMs.
- Even though there is a free Portainer BE offer, it is only 3 nodes and asks for unnecessary information
- Some core functions are paywalled, e.g. auto-update image, you need watchtower to do that on Portainer CE.
So I checked the available FOSS options and found two of them:
Dockge looks cool and neat, but it is not that feature-rich.
So I gave Komodo a shot and it looked good to me.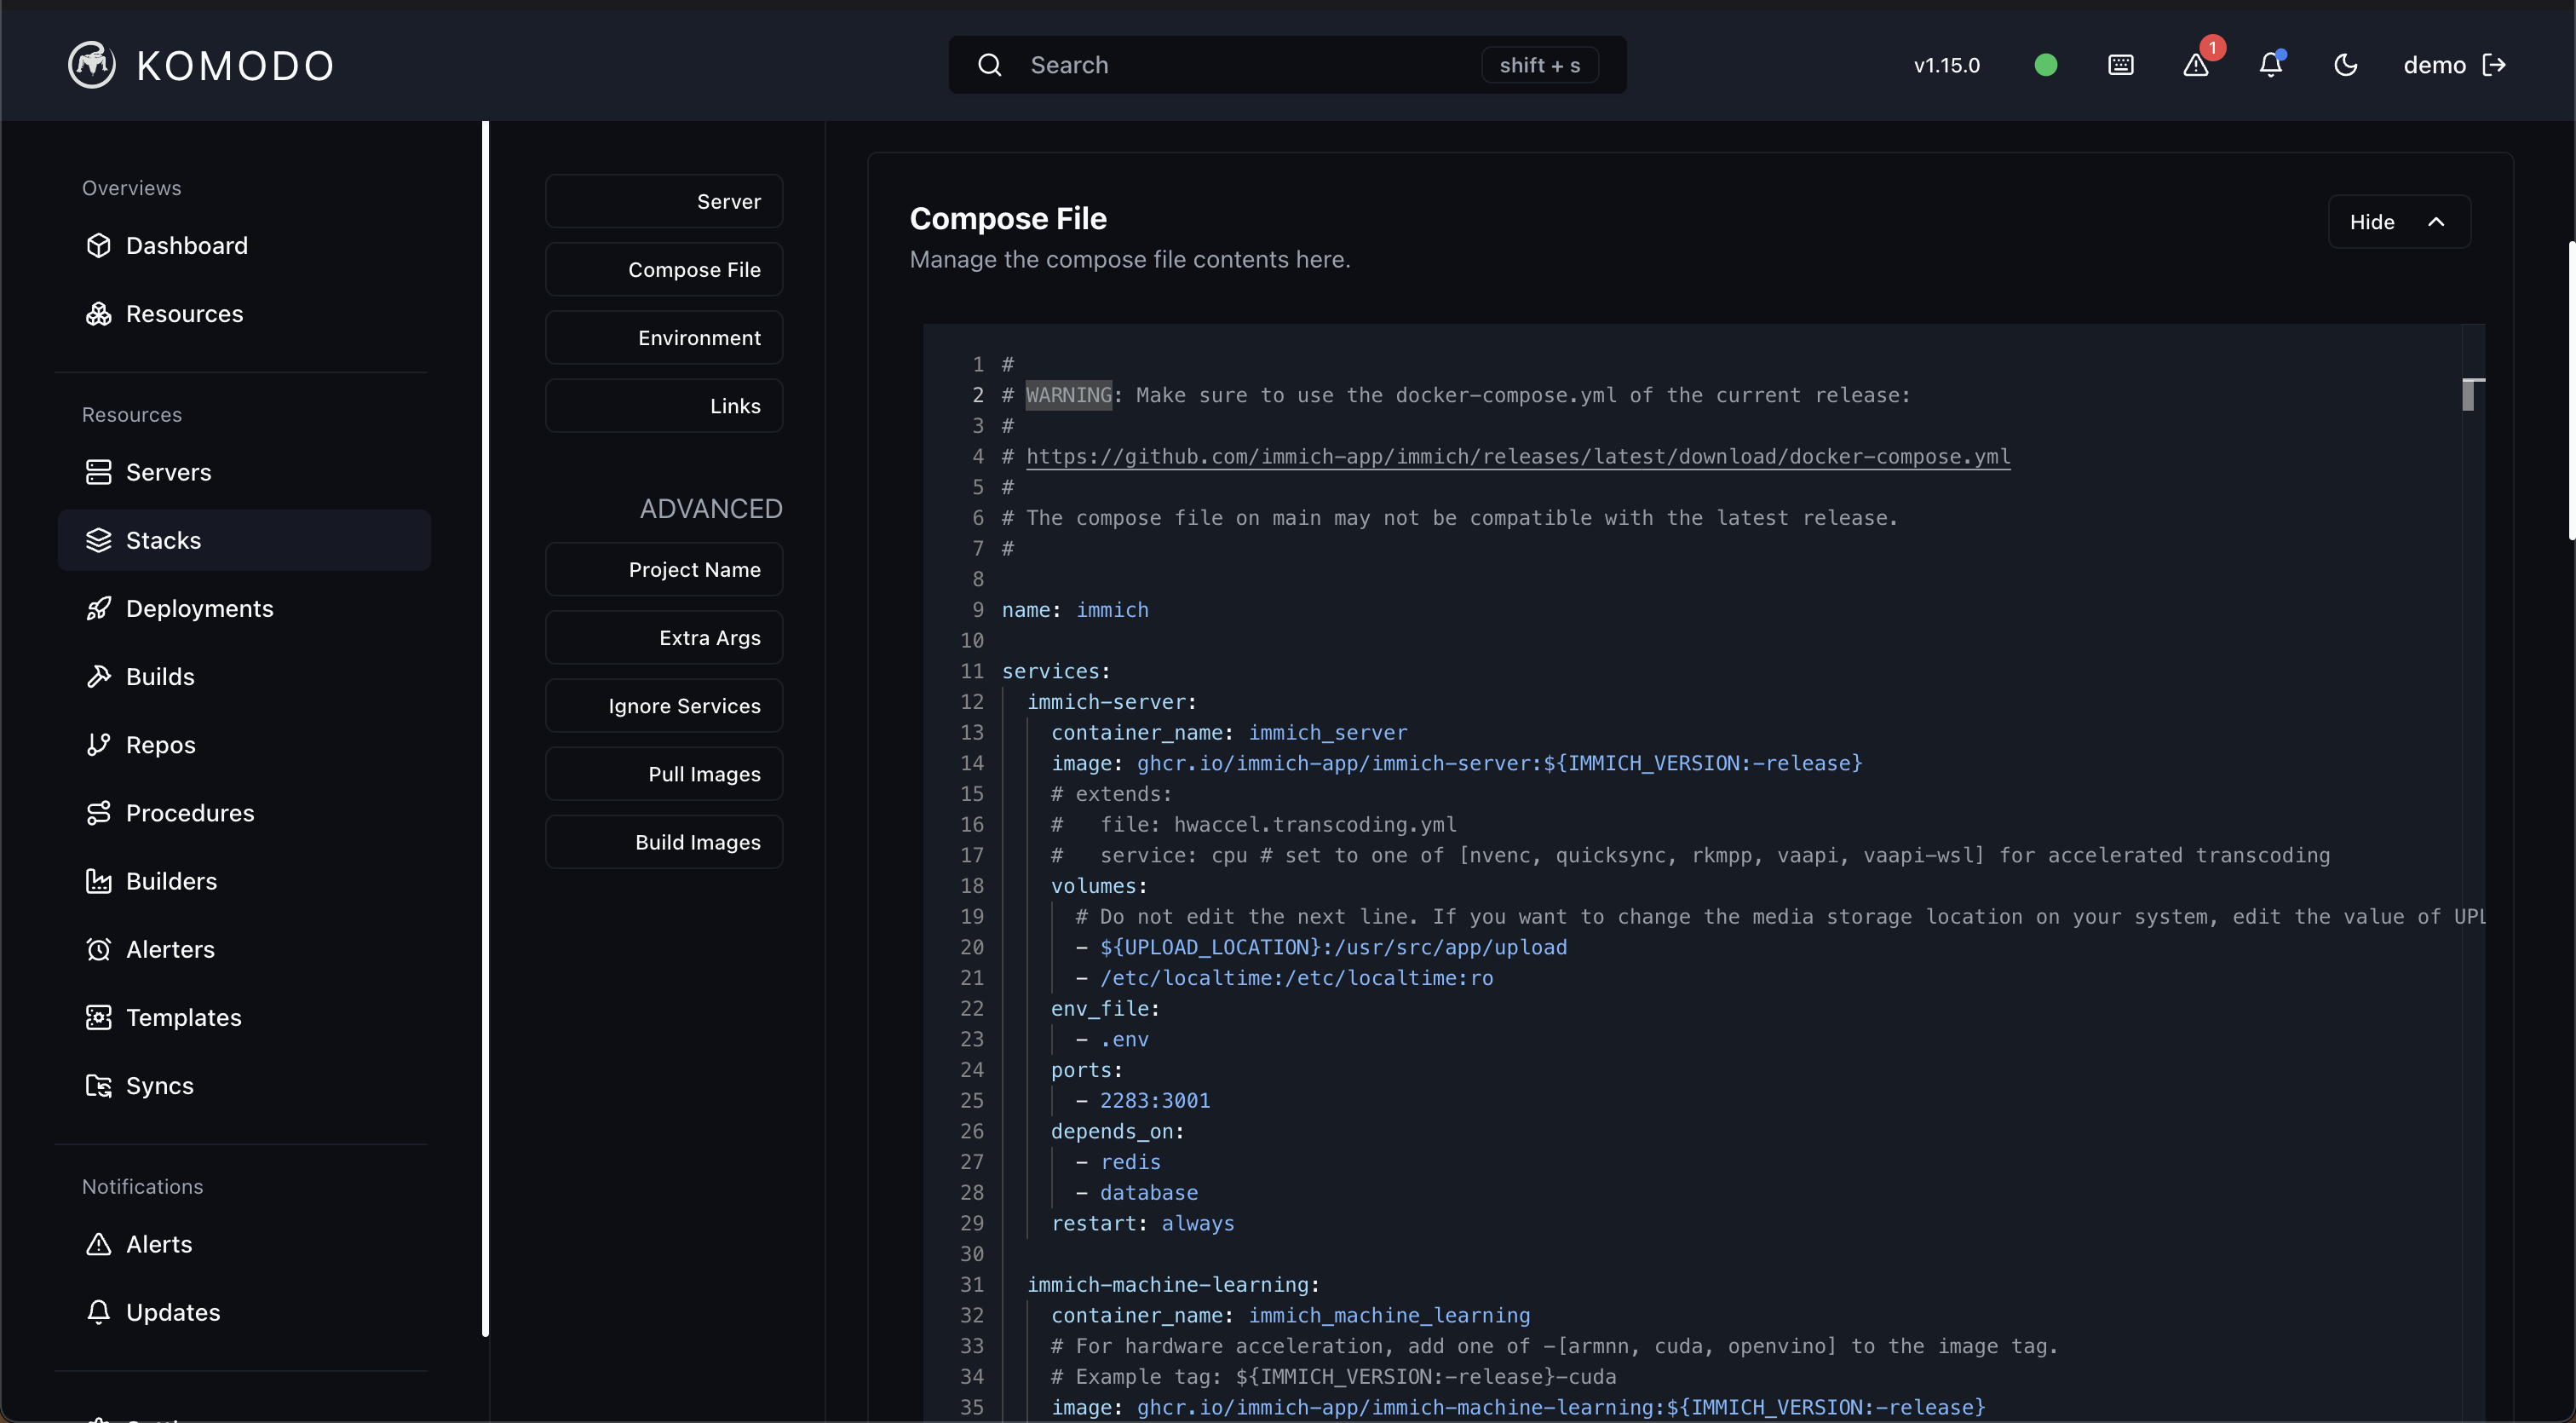
Why Komodo?
- The feature set is somewhere practical enough for a homelabber (not sure about production environment)
- It is open-source
- It does not require a business license to work with
- The UI is simple enough for basic operations
- It is automated if you configure it well
Before this, I edited my stack compose files directly in the Portainer UI, which was fine enough (they were mostly set-and-forget).
But I wanted to put the compose files I deploy with Komodo into a git repo for easier container redeployment.
Of course you can edit your compose file in the Komodo UI, but I chose not to.
Why not Komodo?
So far Komodo does miss a few features provided by Portainer:
- Although it claims it supports Podman , I can’t get it to work by aliasing
- No UI for container shell access, you need good old
docker execto do that- No UI for uploading files to volumes
- No Docker swarm support (which I don’t need at this moment)
Install and Configure Komodo
The Komodo installation guide covers the setup details; I went with the MongoDB backend version.
Optionally, you could install Komodo Periphery
on any other machine where you want to run those services.
It is basically Komodo’s equivalent of the Portainer agent.
Add your server to the Komodo in the UI, set the server location and enable it.
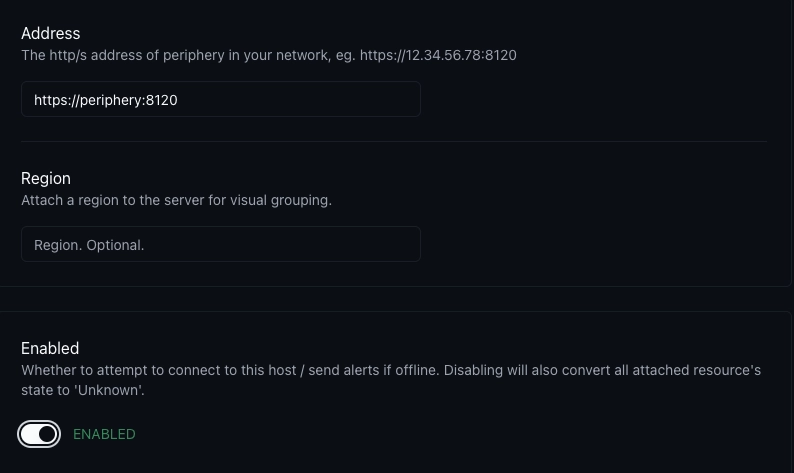
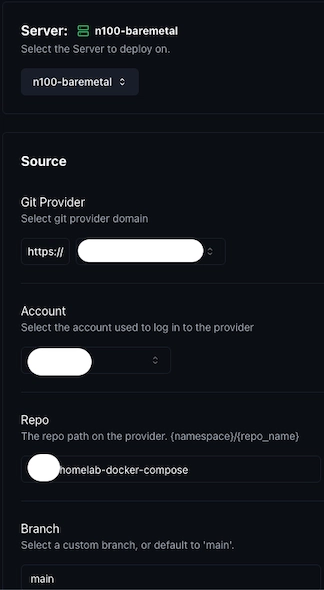
After adding the new server, you can add the stack by filling in the info:
- Server
- Choose mode as “Git Repo”
- Fill in the account, repo and branch
- You will need to generate an access token for your Gitea account with read access to the repo
- By default, Komodo will look for
compose.yamlin the root folder to deploy
- You can set
Run Directoryif you want to version control all stack in one repo like me, and sort them into different folders.
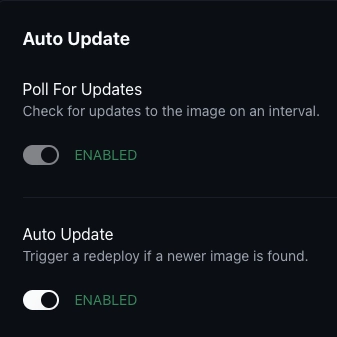
Auto-update image should be a core feature, not something done via watchtower. ☹️
Automatic Deployment by using Webhook
Komodo provides a webhook to deploy the stack when changes are pushed to the git repo.
Portainer also has this feature, but it is paywalled. (Portainer, seriously?)
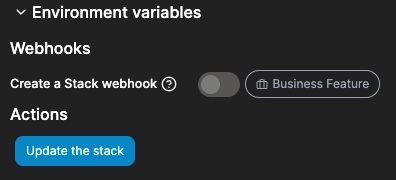
To integrate it with Gitea when you push:
- (Do this ONCE only) Add your Komodo domain to your ALLOWED_HOST_LIST in
app.ini.
Otherwise, it won’t work.- Go to the stack you want to auto-deploy
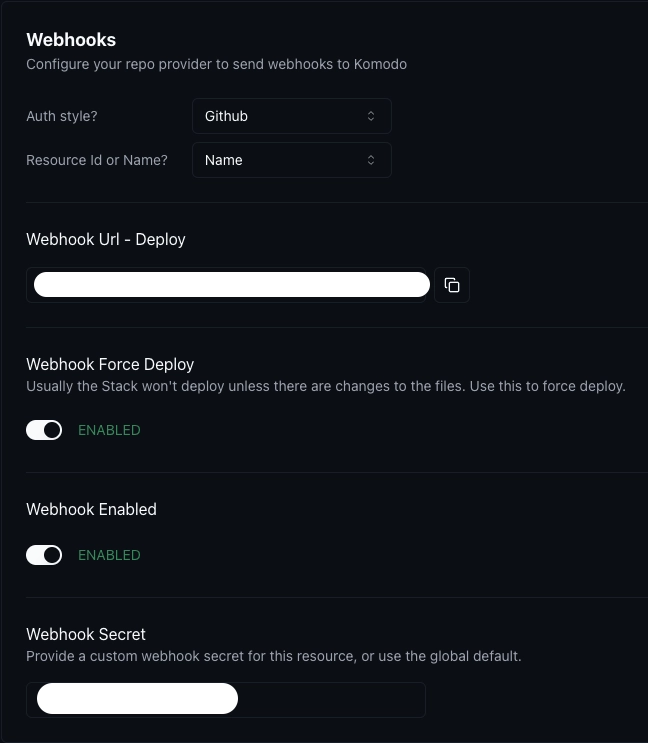
- Enable the webhook
- Set any Webhook secret string, anything will do but do not leave it empty
- Select Auth Style as
GitHuband copy the URL
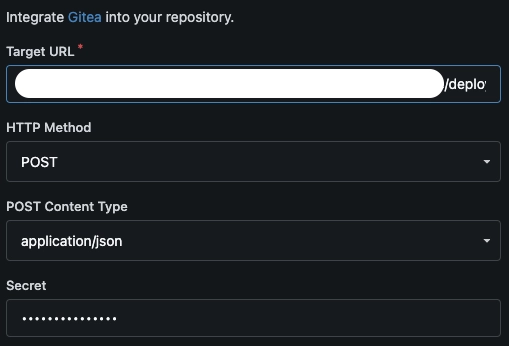
- Go to your Gitea project and select
Settings > Webhooks
- Add a Gitea webhook
- Target URL = Komodo webhook URL
- Secret = the webhook secret set on Komodo
Test it by pushing something to the repo, and you are good to go with automatic redeploys for that stack.